Record your family interviews now. A smartphone captures archival-quality audio, and the only rule that truly matters is copying the file to two other places the same day. Waiting for the “right” equipment or the “right” moment is how these voices get lost.
Here’s your ten-minute checklist before you press record:
- Get clear, spoken consent, and say what the recording is for.
- Choose your device: a smartphone works fine for most families.
- Keep the microphone at an appropriate close distance from your subject’s mouth to capture clear sound.
- Run a short test clip and listen to check for background noise.
- Begin with an identification statement including names, date, and location.
- Copy the finished file to a computer and a cloud folder before you leave.
Pro Tip: The Oral History Association recommends archiving your session within 48 hours. Memory loss isn’t the only risk. Phones get lost, dropped, and wiped, so treat that first backup like a deadline, not a suggestion.
Key Takeaways
Recording family interviews works best when you start immediately with basic equipment, secure clear consent, and back up every file within 48 hours using the three-copy rule.
| Point | Details |
|---|---|
| Record now, worry later | A smartphone captures archival-quality audio; don’t wait for better equipment. |
| Mic distance matters | Keep the microphone 6 to 8 inches from the speaker’s mouth for clear sound. |
| Consent comes first | Reach out at least a week ahead and confirm what the recording will be used for. |
| Back up the same day | Follow the three-copy rule: device, computer, and cloud, completed within 48 hours. |
| Give it a permanent home | Memory Keep lets families upload interviews, share a link or QR code, and export a backup copy. |
Table of Contents
- Recording Family Interviews: Choosing the Right Equipment
- Planning the Interview: Consent, Comfort, and Timing
- Running the Interview Without Making It Feel Like an Interrogation
- Preserving the Recording: Backups, Metadata, and Storage
- A Simple Question Template You Can Use Today
- Handling Sensitive Family Interviews with Care
- Where Memory Keep Fits Into Your Family’s Recording Process
- Why Recording These Voices Matters More Than You Think
- Give Your Family’s Recorded Stories a Permanent Home
- Sources
Recording Family Interviews: Choosing the Right Equipment
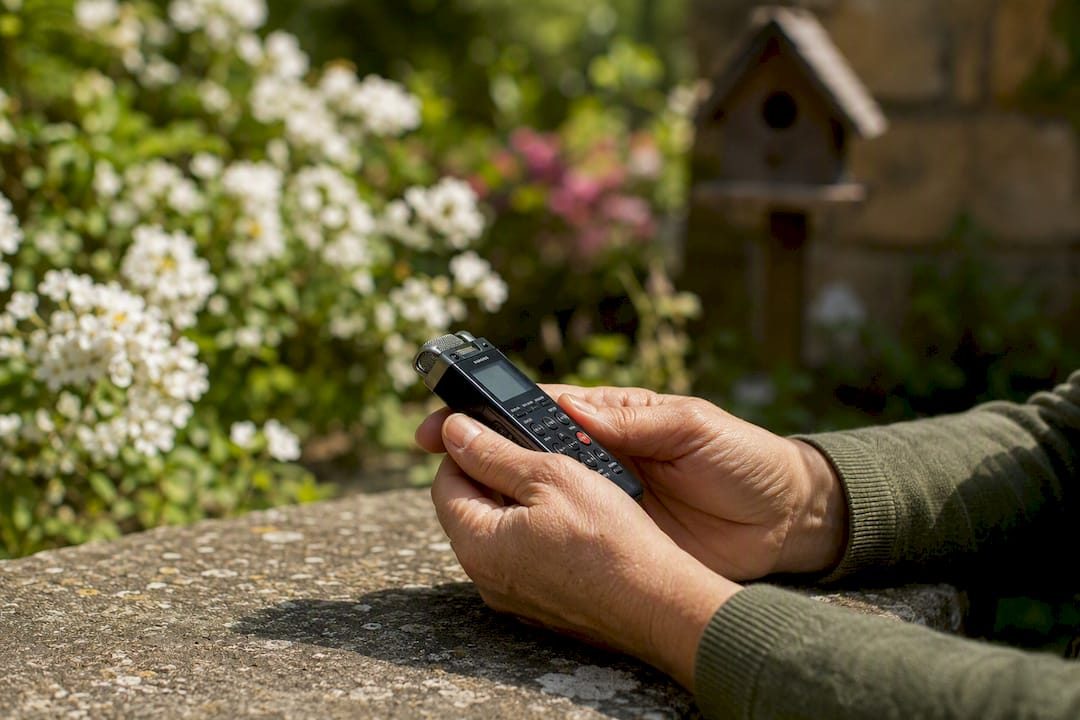
You do not need a podcast studio to capture a great family interview. A smartphone, held steady and placed close to the speaker, produces audio that meets archival standards for most home oral history projects. Dedicated handheld recorders (like a Zoom H1n or Tascam DR-05) offer better handling noise reduction and longer battery life, which matters if you’re planning a 90-minute session with an aging relative who talks slowly and pauses often.
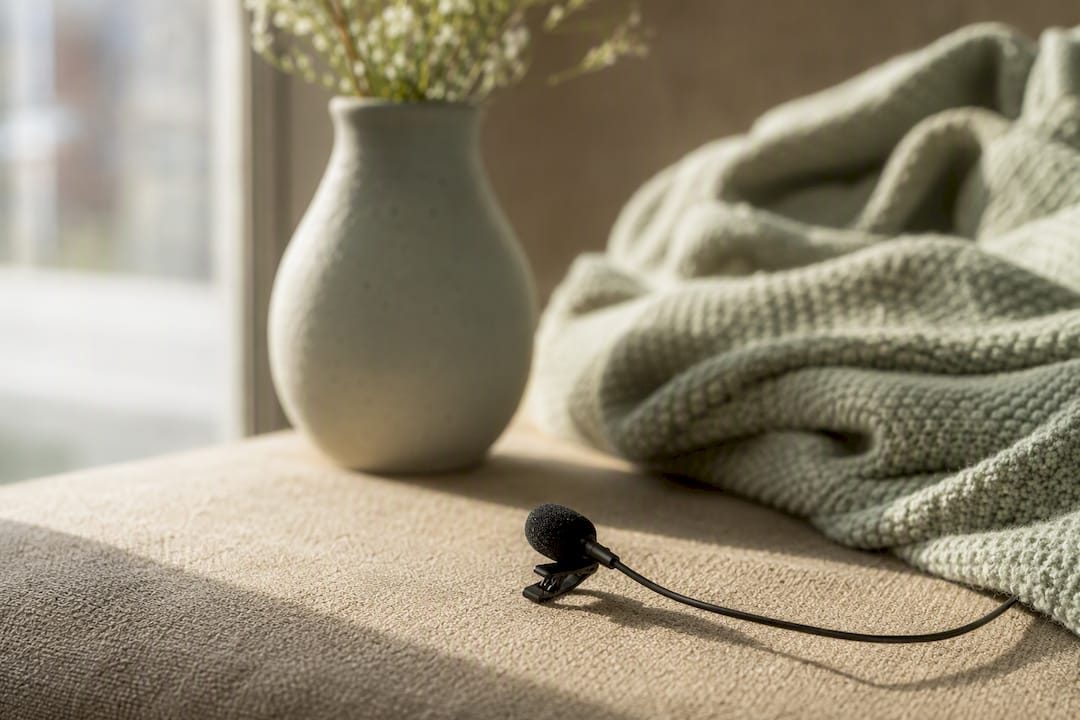
External microphones become worth the investment in two situations: noisy environments (a busy kitchen, an assisted living common room) or when your subject speaks softly. A clip-on lavalier mic solves both problems cheaply. Whatever device you choose, microphone placement guidance from IASA puts the ideal distance at 6 to 8 inches from the mouth, close enough to catch detail, far enough to avoid popping consonants.
Before the real conversation starts, run a short test clip. Play it back through headphones, not your phone’s tiny speaker, so you can actually hear the hum of a refrigerator or a ticking clock that will otherwise bury the good stuff.
Pack these extras in a small bag:
- Headphones for monitoring
- A phone tripod or small stand
- A portable charger or spare batteries
- A backup recording device (a second phone works)
Record in an uncompressed or lightly compressed format when your device allows it, such as WAV or high-bitrate MP3. The moment the interview ends, copy the file to a laptop or cloud drive before you drive home. Phones get left in rideshares. Don’t let that be the reason a story disappears.
Planning the Interview: Consent, Comfort, and Timing
Reach out well in advance to plan the interview, allowing your relative time to prepare. Explain why you want to talk, who might eventually hear it, and roughly how long it will take. That lead time lets your relative think about what they want to share instead of feeling ambushed by a recorder at Sunday dinner.
Consent should be more than a nod. A short spoken statement works well: “Do you agree to be recorded today, and are you comfortable with this being shared with the family?” If the interview might end up in a public archive, say so plainly and separately, since private family use and public donation carry very different expectations.
- Confirm accessibility needs. Ask about hearing, mobility, translation, or whether they’ll need breaks.
- Offer a review step. Some narrators want the chance to redact a sensitive detail before it’s shared further.
- Decide on session length and cadence. Short, repeated conversations often work better than one long session for both content quality and comfort.
- Pick a quiet, familiar location. Their own kitchen table often works better than a “neutral” spot.
- Set a backup plan for archiving. Know exactly where the file goes the moment you stop recording.
Pro Tip: If your relative gets tired mid-story, stop there. A second short session almost always produces better material than pushing through fatigue, and it gives them something to look forward to.
Aim to move the recording into permanent storage within 48 hours. Memories fade, but so do phone storage limits and forgotten passwords.
Running the Interview Without Making It Feel Like an Interrogation
Start with a warm-up question that has nothing to do with the recorder. Then read your ID statement out loud: your name, your relative’s name, today’s date, and where you’re sitting. That fifteen seconds of housekeeping becomes priceless metadata later, when a grandchild is trying to figure out which recording is which.
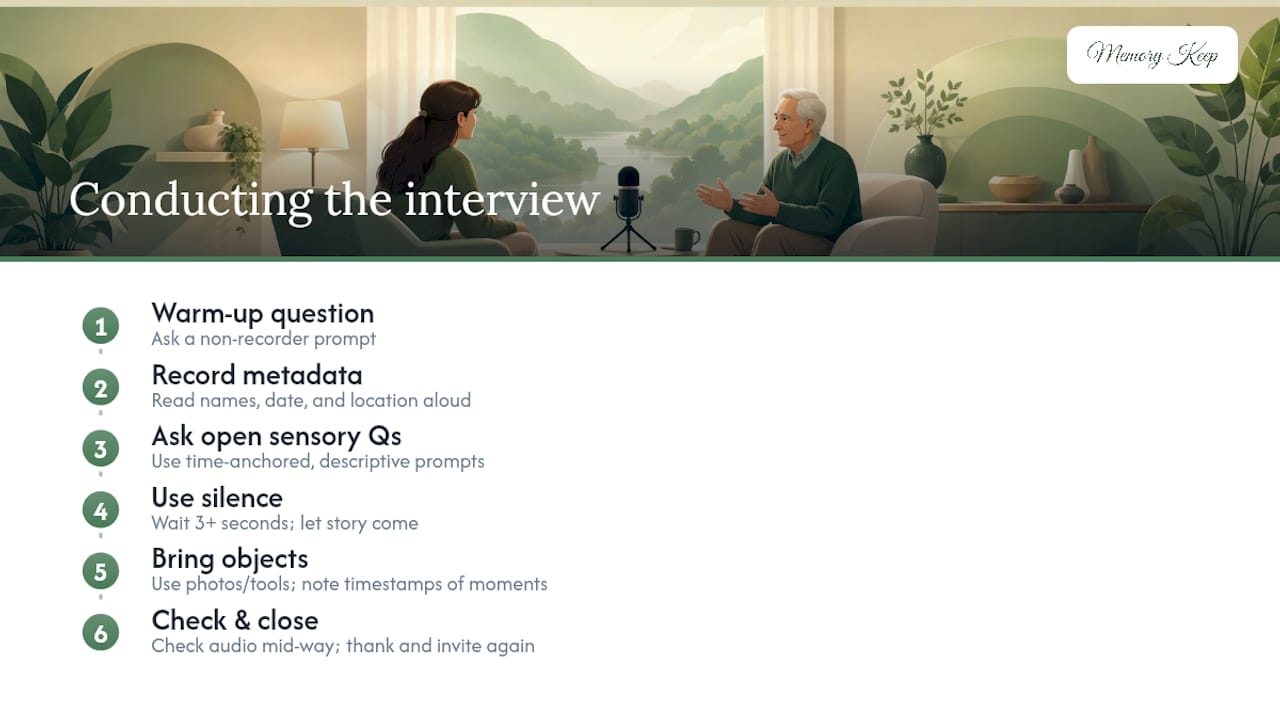
From there, favor open, sensory, time-anchored questions over yes-or-no ones. “What did your mother’s kitchen smell like on Sunday mornings?” pulls out detail that “Did you like your childhood home?” never will. Oral historians interviewed by KQED point out that treating the session as a conversation, not a formal interview, consistently produces richer material, and that silence is a tool, not a failure. When your relative pauses, resist the urge to fill it. The best stories often arrive right after that uncomfortable three-second gap.
Bring a photo, a letter, or an old tool. Objects unlock memories that direct questions can’t reach, and when you see your narrator light up at something, follow that thread even if it derails your outline. Note the approximate timestamp when something remarkable happens. It saves hours during editing.
Check your audio quietly around the halfway mark. If you hear a hum or rustling, pause and adjust rather than hoping it fixes itself. Library of Congress guidance suggests capping formal interviews at 60 to 90 minutes, since attention and voice quality both drop off after that. Close warmly: thank them by name, ask if there’s anything they want to add, and mention you’d love to talk again soon.
Preserving the Recording: Backups, Metadata, and Storage
The three-copy rule is not optional if you care about this recording still existing in ten years. Keep the original file on the recording device, move a copy to a computer, and push a third copy to cloud storage, all on the same day you record. This exact approach is what oral history programs recommend for remote and home interviews, and it protects against the two most common failure points: a lost phone and a corrupted drive.
- Name files consistently: something like “Grandma_Ruiz_Session1_2026-03-14” beats “Recording047.”
- Log basic metadata immediately: full names, relationship, date, location, and a one-line topic summary.
- Get the audio transcribed, even roughly. A transcript makes the interview searchable and lets your narrator review and correct details while memories are fresh.
- Choose a storage home that supports both backup and sharing, whether that’s a family archive platform, cloud folder, or a hosted memorial page built for this purpose.
- Keep a downloadable export. Never rely on a single platform as your only copy.
Pro Tip: Ask your narrator whether they want the recording shared publicly, kept within the family, or reviewed before either. Getting that answer in writing, even a text message, saves awkward conversations later.
Decide access levels early. A recording meant for grandchildren someday shouldn’t sit in a shared drive everyone can edit or delete.
A Simple Question Template You Can Use Today
You don’t need forty questions. Five well-chosen ones, drawn from the buckets used by oral history programs like UCLA’s family history project, will carry a 20-minute conversation easily.
- Warm-up: “What’s something you remember about the house you grew up in?”
- Early life: “What did a typical morning look like when you were ten?”
- Work or daily life: “What was your first job, and what did it teach you?”
- Deep story prompt: “Tell me about a moment that changed how you saw the world.”
- Reflection/wrap-up: “What do you hope people remember about you?”
Other buckets worth drawing from: relationships and courtship, memorable events (weddings, moves, losses), and legacy or advice for future generations. When an answer feels thin, follow up with a sensory nudge like “what did that smell or sound like?” rather than moving straight to the next question.
- For parents: lean into work and daily-life questions.
- For grandparents: prioritize early life and historical context.
- For partners: reflections and relationship stories tend to land deepest.
Handling Sensitive Family Interviews with Care
Some interviews need extra care. If your narrator is a veteran and wants their story preserved publicly, ask about explicit consent for archives like the Veterans History Project, which have their own submission requirements. If grief, trauma, or hospice care is part of the conversation, let your relative set the pace entirely. Pause the moment emotion rises, and say plainly that you can stop or erase anything.
- Confirm whether recordings can be shared publicly, privately, or not at all.
- Plan for language barriers with translation support or written captions.
- Check accessibility for remote interviews: connection quality, hearing aids compatibility, screen readers.
- Loop in a grief counselor or hospice social worker when a conversation touches on end-of-life topics you’re not equipped to navigate alone.
Where Memory Keep Fits Into Your Family’s Recording Process
Once you’ve captured a recording, it needs a permanent home, not just a folder buried on a laptop. Memory Keep lets families upload audio and video directly to a memorial page, generate a shareable link or QR code for relatives anywhere, and invite others to contribute their own recordings to the same archive.
- Upload finished interviews alongside photos and written tributes.
- Share one link instead of emailing large files to a dozen relatives.
- Download an export for your own offline backup, satisfying the three-copy rule.
Pro Tip: Print a QR code linking to the recording and tuck it into a photo album or attach it to a keepsake. Anyone who finds it later can hear the voice, not just see a name.
Why Recording These Voices Matters More Than You Think
A voice carries something a photograph never can, the rhythm of how someone told a story, the pause before a punchline, the way they said your name. These recordings become the closest thing we have to sitting with someone again. This week, pick one person and five questions. That’s the whole assignment, and it’s enough to start something that outlasts all of us.
— Memory Keep
Give Your Family’s Recorded Stories a Permanent Home
Once you’ve recorded a family interview, the recording itself becomes something worth protecting the same way you’d protect a photograph or a letter. Memory Keep gives that recording a real destination: upload the audio or video directly to a memorial page, generate a QR code for a keepsake or headstone, and share one link with relatives instead of scattering files across text threads and email attachments. Family members can add their own photos and recordings to the same page, building a fuller archive than any single interview could hold alone, and you can always download an export to keep a copy under your own control.
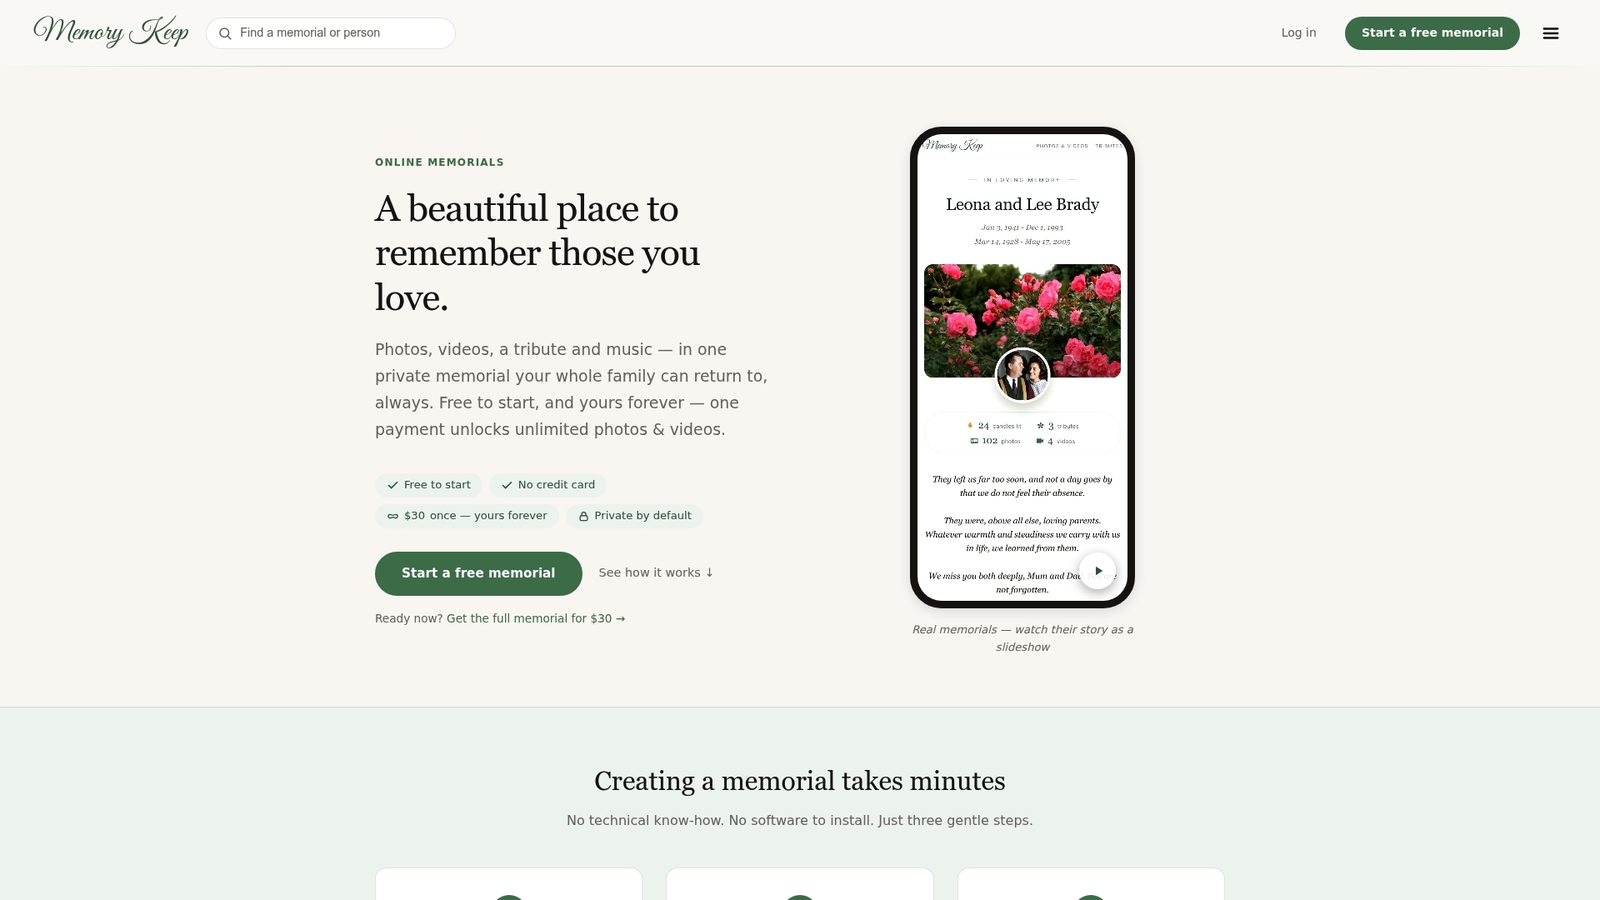
If you’ve recently lost someone and have interviews or recordings you want preserved properly, create a memorial page on Memory Keep and start uploading today.