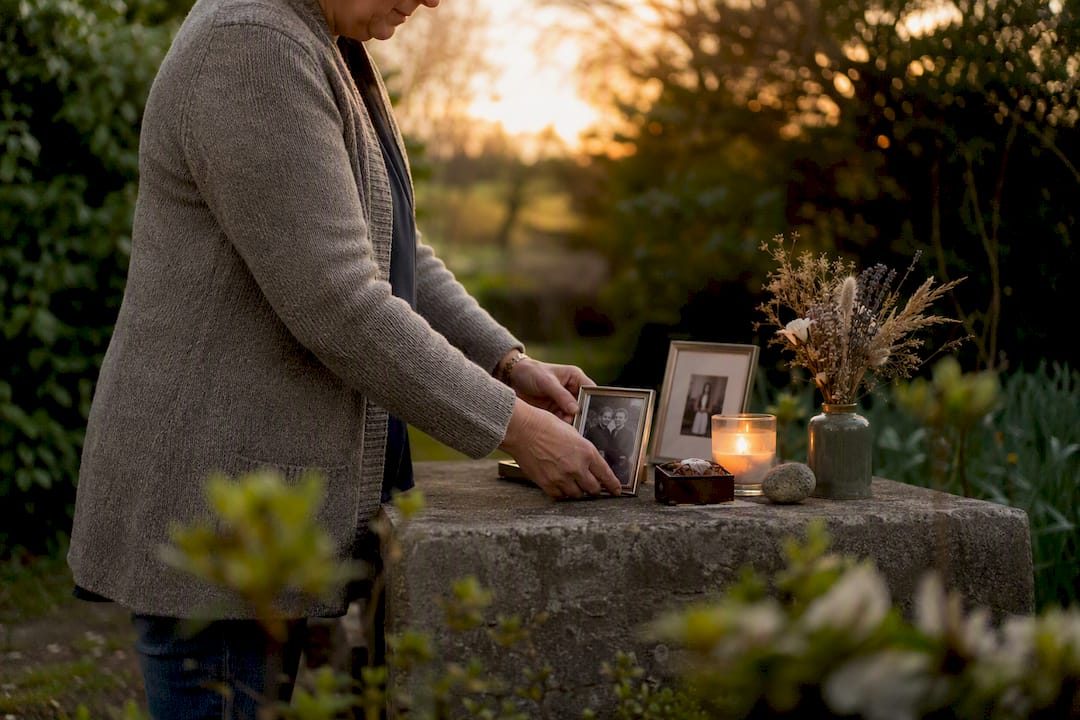

A memorial video tribute for a funeral or celebration of life works best at a few minutes, built from several dozen photos, and exported as MP4 with H.264 at 1920x1080. The fastest, most reliable way to create one is to gather your photos, drop them into a template-based editor, add royalty-free music, and export early enough to test the file before the service. If you want a permanent home for the finished video afterward, a hosted memorial page like Memory Keep keeps it safe and shareable for years.
TL;DR:
- Gathering a few dozen photos organized by life chapter ensures a balanced, impactful memorial video without overwhelming viewers or missing important moments.
- Using a template-based editor and pacing photos at 4 to 6 seconds creates a respectful flow suitable for a funeral ceremony without requiring extensive technical skill.
- Choosing royalty-free music and keeping vocals clear at 15 decibels below the background enhances emotional impact while avoiding copyright issues.
- Hosting the finished video on a dedicated memorial page allows family members to revisit, add memories, and share the tribute easily over time.
Table of Contents
- How Do You Gather and Digitize Photos for a Memorial Video?
- What’s the Best Way to Structure the Story?
- How Do You Choose Music and Handle Voiceover Without Copyright Trouble?
- How Do You Assemble the Video Without a Steep Learning Curve?
- What Export Settings and Delivery Timeline Should You Use?
- How Memory Keep Helps After the Video Is Finished
- Where to Host and Preserve the Finished Tribute
- Why First-Time Editors Get More Right Than They Expect
- Sources
How Do You Gather and Digitize Photos for a Memorial Video?
A few dozen photos is the sweet spot for a short ceremony tribute. That count gives you roughly one image every 4 to 6 seconds without rushing past any single memory. If you’re building a longer visitation loop instead, you’ll want substantially more images since that version runs many minutes and plays on repeat while guests move through the room.
Physical prints need care before they go anywhere near an editor. Scan them at a minimum of 300 DPI so they don’t pixelate on a large screen, whether you use a flatbed scanner or an app like Google PhotoScan. If a scanner isn’t available, photographing prints flat in natural light is a reasonable substitute. It tends to preserve true color and avoids the wavy moiré pattern that comes from photographing a photo under indoor lighting.
Before you open an editor, organize what you have:
- Create folders by decade or life chapter, not just “old photos” and “new photos.”
- Pull video clips into a separate folder and trim each to a 5 to 10 second highlight.
- Convert any unusual file formats now, not mid-edit, so your software doesn’t stall later.
- Set aside a “maybe” folder for images you’re unsure about instead of deleting them.
Pro Tip: Ask two or three family members to send their own five favorite photos before you start sorting. You’ll almost always end up with images no one else remembered to look for. For guidance on which shots actually earn a spot in the final cut, Memory Keep’s photo selection guide walks through what to prioritize.
What’s the Best Way to Structure the Story?
A ceremony video usually plays best in chronological order: childhood, family, career, the moments that defined a life. A visitation loop is different. Since guests wander in and out at random times, shuffling the photo order ensures anyone watching for even two minutes sees a real cross-section of who this person was, not just one chapter.
If you’re adding narration, keep it tight. A 3-minute voiceover runs about a few hundred words, roughly a page of double-spaced text. Many families skip narration entirely and let short on-screen captions carry the context instead, which reads calmer on a big screen anyway.
A simple sequencing template that works for almost any tribute:
- Opening slide with name, birth and death dates, and a favorite portrait.
- Early life and family, paced slowly with a few captioned dates.
- Middle chapters: career, hobbies, the people who mattered most.
- A closing slide, often a favorite quote or a simple “forever in our hearts.”
Decide now where music plays alone and where a voice or caption needs the space to breathe.
How Do You Choose Music and Handle Voiceover Without Copyright Trouble?
Pick instrumental or light-lyric music that actually reflects the person’s taste rather than a generic “sad piano” default. If the video is only for a printed program or in-room ceremony, that flexibility matters less. But anything shared online needs real attention to licensing.
- Use royalty-free libraries or public-domain recordings for anything posted publicly.
- If the family’s favorite song is copyrighted, secure proper licensing before uploading it anywhere public, since platforms like YouTube routinely flag or mute unlicensed tracks.
- For voiceover, a phone recording in a quiet room, a $30 USB microphone, or a reputable AI voice tool can all work when a family member can’t record their own narration comfortably.
A useful mixing rule: keep music around 15 decibels below the narration track so words stay clear without silencing the score entirely. Most drag-and-drop editors show this as a simple volume slider rather than requiring a real mixing board.
How Do You Assemble the Video Without a Steep Learning Curve?
Starting from a memorial-specific template saves the most time, especially for someone editing under grief and a deadline. Template-based editors exist specifically to shortcut this process, and Memory Keep’s slideshow templates are built for exactly this use case. If you want more manual control, a free tool like DaVinci Resolve or a built-in app like iMovie handles transitions and audio syncing without a subscription.
Pacing matters more than most first-time editors expect. For a seated ceremony, hold each photo on screen for 4 to 6 seconds. Faster than that feels frantic in a room full of people already overwhelmed; slower drags. Stick to simple cross-dissolves and gentle motion (a slow zoom, a soft pan) rather than flashy wipes or spins, which read as jarring against the tone of the moment.
A workable editing checklist looks like this:
- Import all photos and clips into one project folder before touching the timeline.
- Place assets in order according to your outline, not as they happened to load.
- Add consistent transitions, ideally the same cross-dissolve throughout.
- Sync the music bed to the full run time, then layer in voiceover if you’re using it.
- Normalize audio levels so no single clip suddenly jumps in volume.
- Watch the entire video start to finish before exporting, ideally with someone else in the room.
Pro Tip: Watch the full preview with the sound on speakers, not headphones. Music and voiceover balance that sounds fine in earbuds often shifts once it’s playing through a room’s speaker system, which is exactly what the venue will use.
For a full walkthrough of the editing sequence with more visual detail, Memory Keep’s slideshow guide covers the same steps with screenshots.
What Export Settings and Delivery Timeline Should You Use?
Export the finished file as MP4 using the H.264 codec at 1920x1080 (1080p). This combination plays reliably on nearly every projector, television, and laptop a funeral home uses, and it’s the format most venues expect without conversion. A well-compressed 3 to 5 minute video at these settings typically lands between 200 and 400 MB, small enough to email in some cases and easy to move on a USB drive.
Timing matters as much as the settings themselves:
- Finish editing at least 4 to 5 days before the service, not the night before.
- Deliver the file to the funeral director a minimum of 48 hours ahead of time so there’s real time to test it.
- Test playback on the actual venue device if at all possible. Compatibility surprises are common, and a laptop preview doesn’t guarantee a funeral home’s system reads the file the same way.
- Bring a USB backup on the day of the service regardless of what you’ve already sent.
For sharing beyond the room, an unlisted YouTube link, a password-protected Vimeo page, or a cloud storage folder all work as backups and let out-of-town family watch on their own time. If the video includes personal footage the family wants kept private, stick to unlisted or password-protected links rather than anything public and searchable.
How Memory Keep Helps After the Video Is Finished
Once the tribute is edited, it needs somewhere permanent to live, not just a folder on someone’s laptop. Memory Keep hosts the finished video on a dedicated memorial page with a unique shareable link, so relatives who couldn’t attend the service can still watch it whenever they’re ready. The platform’s slideshow templates and photo selection guidance work well alongside the process described above, and collaborative uploads mean extended family can add their own photos and clips instead of everything falling on one person.
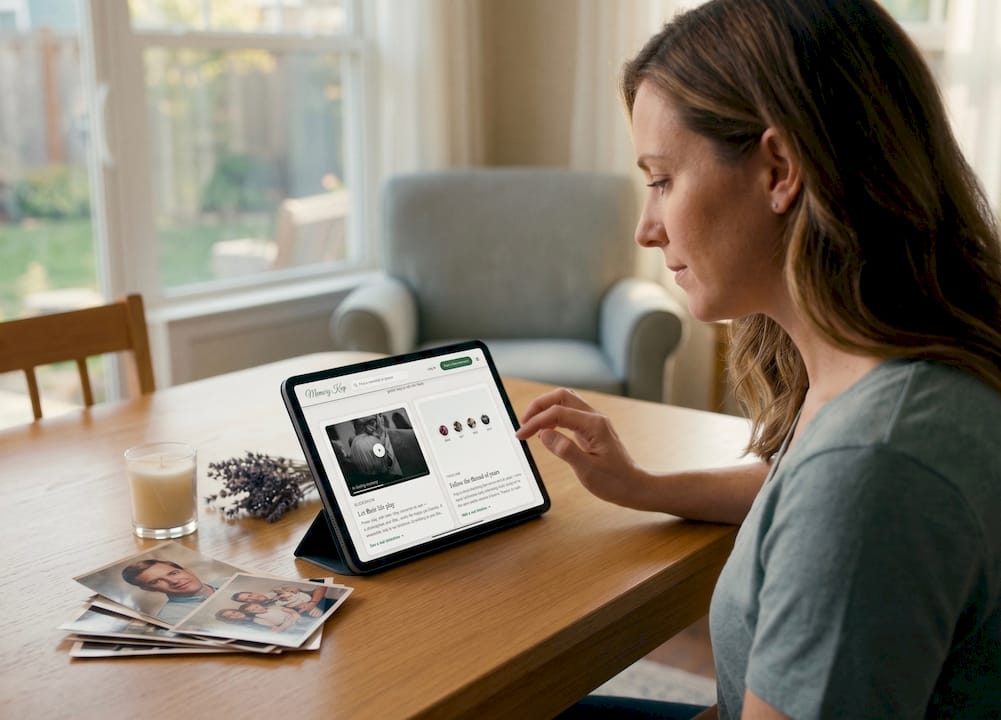
This matters most when family is scattered across time zones, or when a service happens quickly and there’s no time to collect every photo beforehand. A memorial page keeps growing after the funeral, with QR-code integration that links a printed program or headstone directly to the video and gallery online. Families also managing broader caregiving decisions during a loss may find Helping Mom’s guide to memory care options useful for the wider transition, not just the tribute itself.
Where to Host and Preserve the Finished Tribute
Memory Keep starts free, so you can create a memorial page, upload your finished video, and share the link with family before spending anything. A one-time $30 upgrade unlocks unlimited photo and video storage, QR codes for headstones or memorial cards, and a downloadable keepsake version of the slideshow, features that matter once relatives start adding their own memories over time.
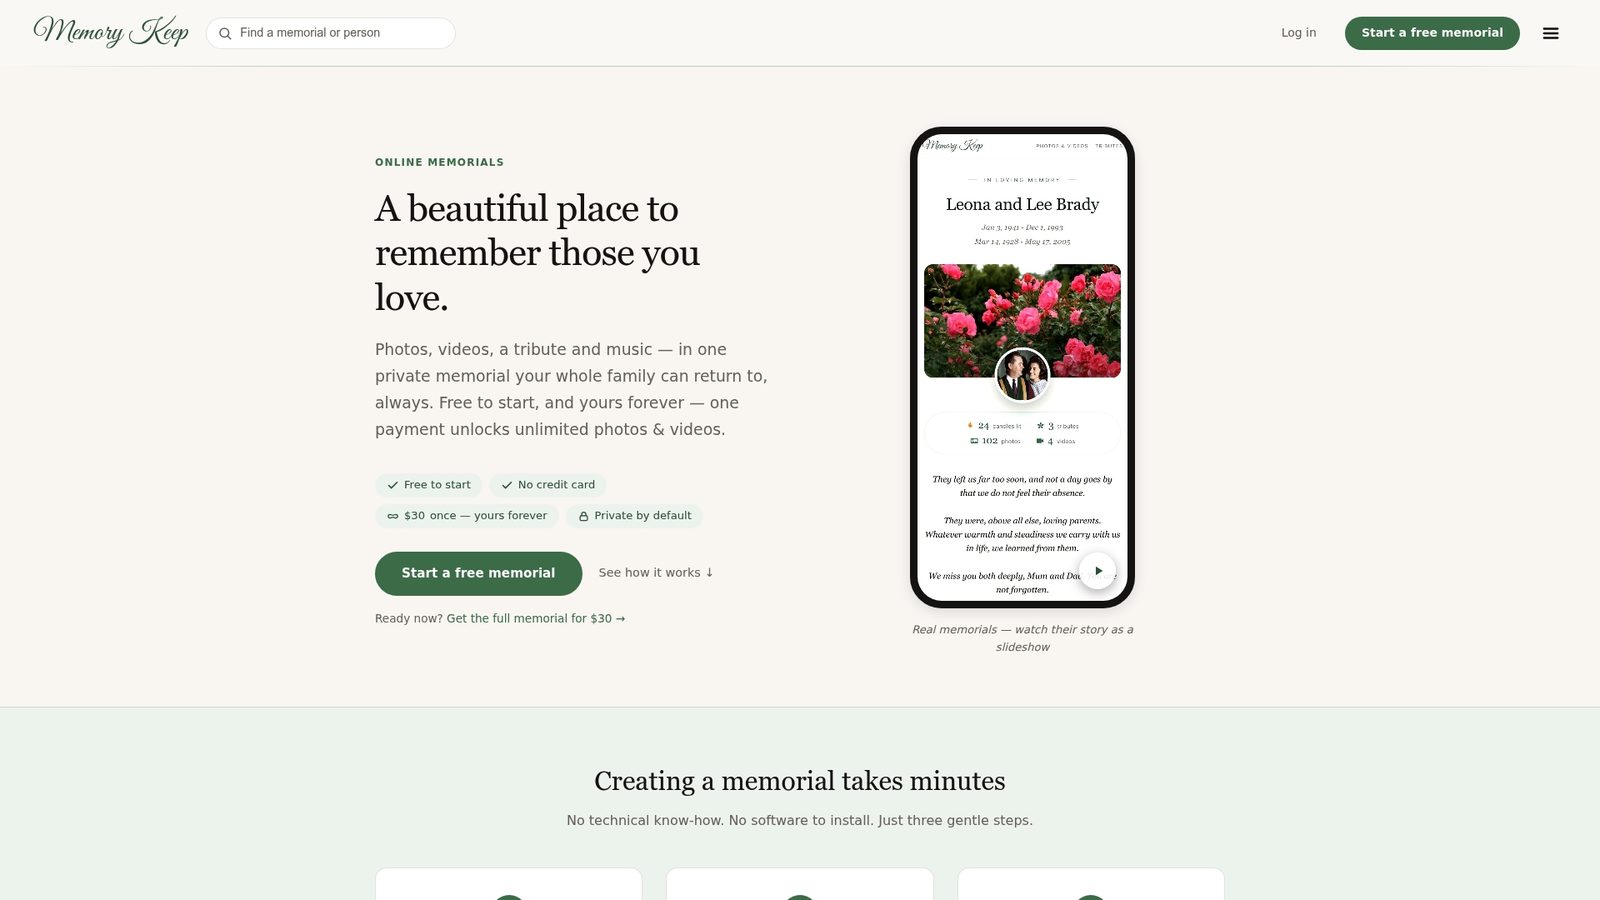
The workflow lines up naturally with everything above: upload your exported MP4, choose a memorial template, and get a shareable link within minutes instead of managing file transfers or worrying about a USB drive going missing. This memorial page for Maurice J. Wizniak shows what a finished page looks like with video, photos, and visitor messages in one place, and this tribute for a beloved pet named Dixie shows the same care applied to a pet’s memory. If a headstone or printed program is part of the plan, Memory Keep’s QR code feature links visitors straight to the video from a physical marker. Start by visiting Memory Keep and creating a memorial page for the video you’ve just finished.
Why First-Time Editors Get More Right Than They Expect
The biggest misconception about a memorial video tribute is that it needs polish to feel meaningful. It doesn’t. Families spend hours worrying over transition styles and font choices when the moments that actually land in a room full of mourners are almost always the plainest ones: a shaky home video clip, a photo with bad lighting where someone is laughing anyway, a voicemail transcript turned into a caption.
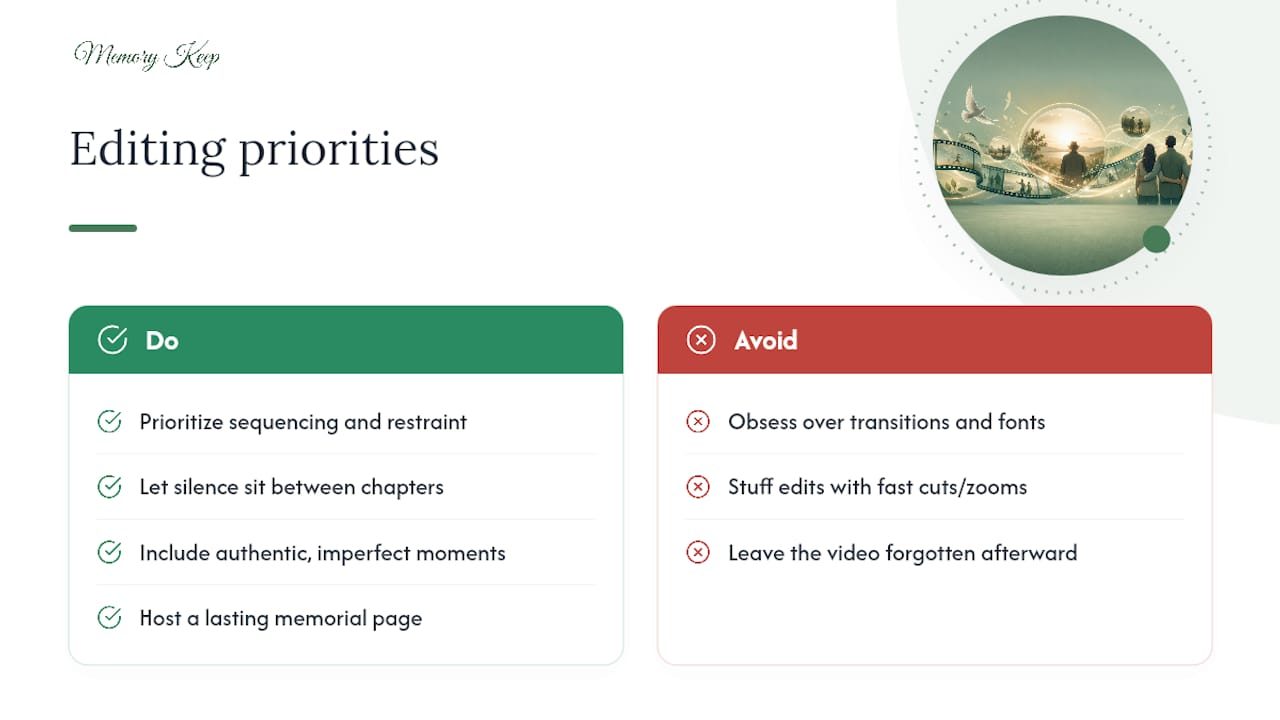
Technical precision matters far less than sequencing and restraint. A video that holds each photo for the right beat and lets silence sit between chapters will outperform a technically flawless edit stuffed with fast cuts and dramatic zooms every time. Grief doesn’t need a highlight reel pace. It needs room to breathe.
The other overlooked piece is permanence. Most families pour enormous effort into the video for the service itself and then let it sit forgotten in a folder afterward, unreachable by anyone who couldn’t attend. That’s the real gap between what a memorial video promises and what it delivers unless someone gives it a lasting home where family can return to it, add to it, and pass it down.
— Memory Keep
Sources
- Funeral
- How to make a memorial video for a funeral — FluxNote
- What is a legacy video? — Crossroads Hospice